Custom Forms
Piccolo Admin has the ability to turn a Pydantic model into a form in the UI, without writing any frontend code.
Here’s an example of a form which sends email, using FastAPI:
import smtplib

from fastapi import FastAPI
from fastapi.routing import Mount
from home.tables import Task
from pydantic import BaseModel

from piccolo_admin.endpoints import FormConfig, create_admin


# Pydantic model for form
class EmailFormModel(BaseModel):
    email: str
    title: str
    content: str


# Send email handler
def email_endpoint(request, data):
    sender = "info@example.com"
    receivers = data.email

    message = f"""From: Sender <info@example.com>
    To: Receiver <{data.email}>
    Subject: {data.title}
    {data.content}
    """

    try:
        smtpObj = smtplib.SMTP("localhost:1025")
        smtpObj.sendmail(sender, receivers, message)
        print("Successfully sent email")
    except smtplib.SMTPException:
        print("Error: unable to send email")

    return "Email sent"


app = FastAPI(
    routes=[
        Mount(
            "/admin/",
            create_admin(
                tables=[Task],
                forms=[
                    FormConfig(
                        name="Business Email Form",
                        pydantic_model=EmailFormModel,
                        endpoint=email_endpoint,
                    ),
                ],
            ),
        ),
    ],
)

# For Starlette it is identical, just `app = Starlette(...)`
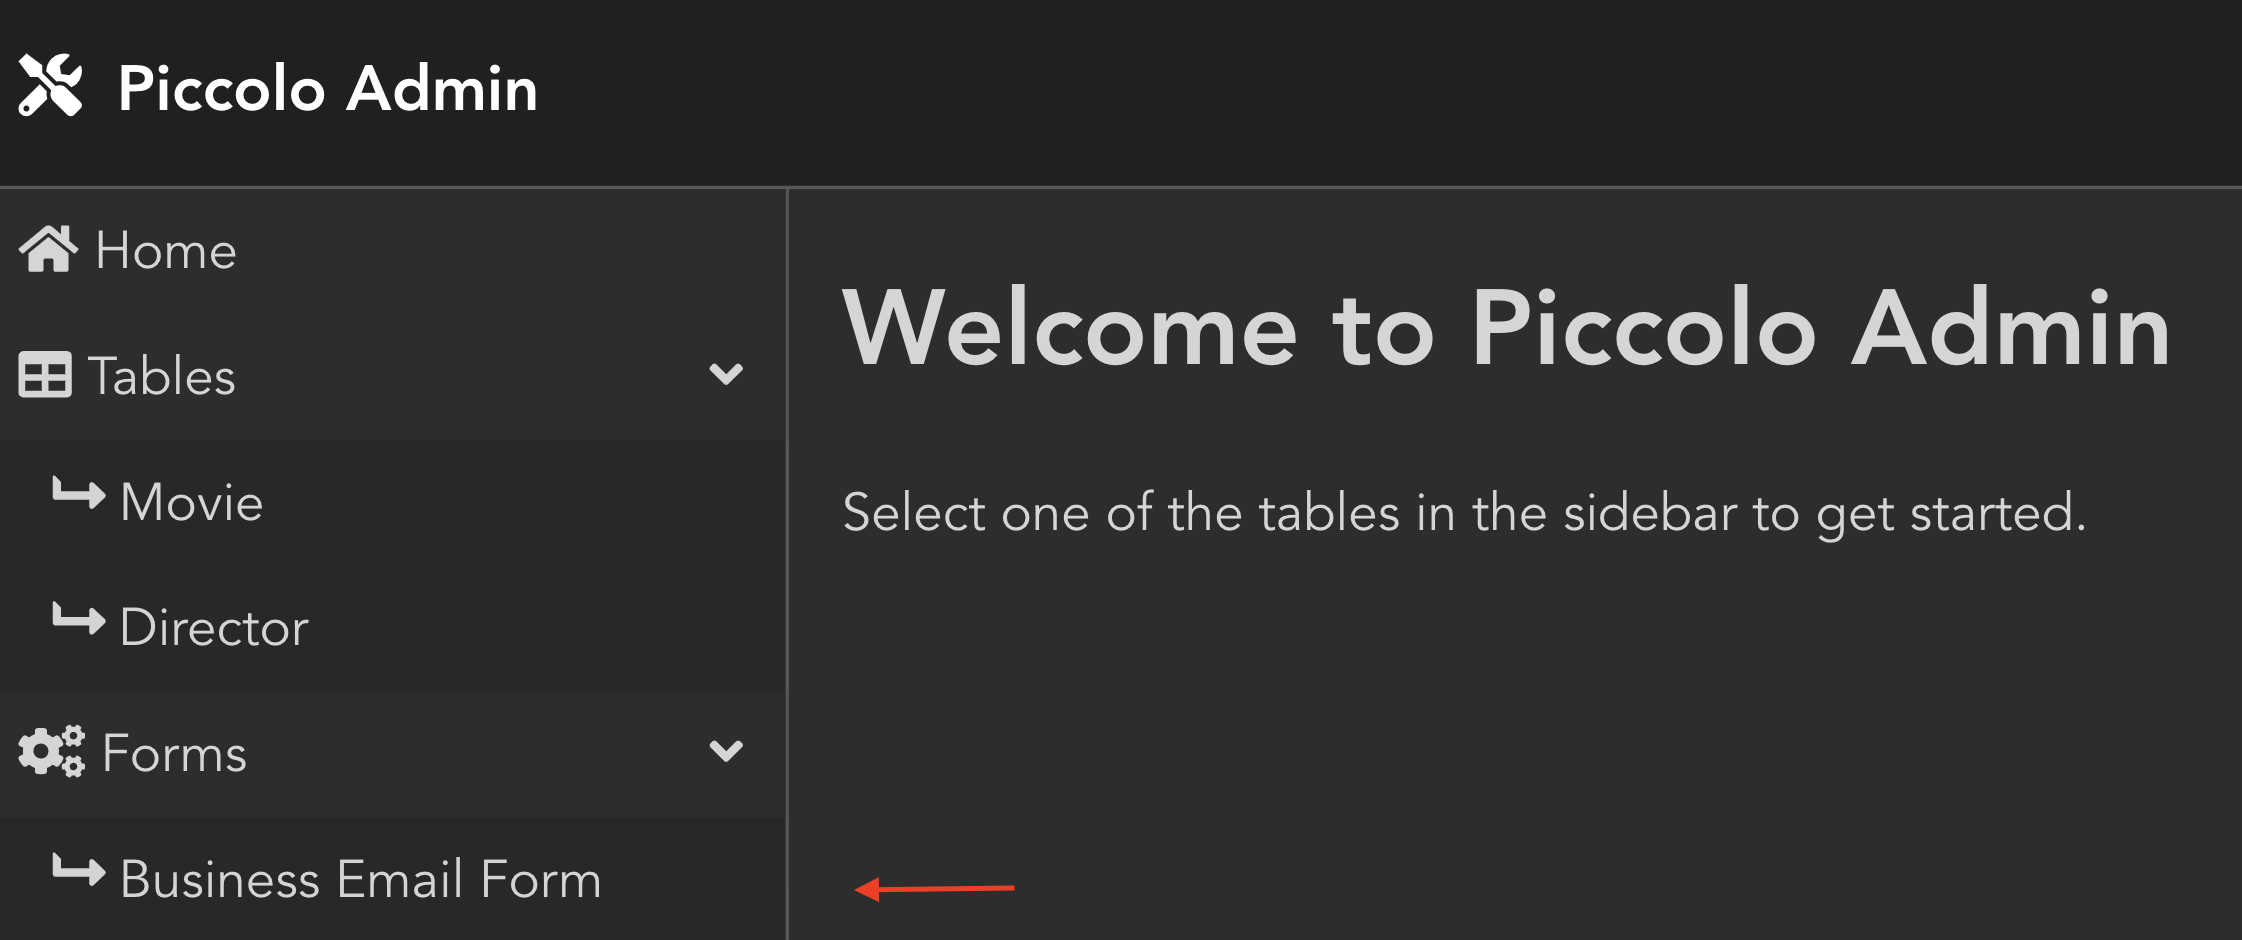
Piccolo Admin will then show a custom form in the UI.


To process the form, you only need to specify the Pydantic model and function which processes your custom form and Piccolo Admin will do the rest, like in the above example.
Source
- class piccolo_admin.endpoints.FormConfig(name: str, pydantic_model: Type[PydanticModel], endpoint: Callable[[Request, PydanticModel], Union[str, None, Coroutine]], description: Optional[str] = None)[source]
Used to specify forms, which are passed into
create_admin.- Parameters:
name – This will be displayed in the UI in the sidebar.
pydantic_model – This determines which fields to display in the form, and is used to deserialise the responses.
endpoint – Your custom handler, which accepts two arguments - the FastAPI / Starlette request object, in case you want to access the cookies / headers / logged in user (via request.user). And secondly an instance of the Pydantic model. If it returns a string, it will be shown to the user in the UI as the success message. For example
'Successfully
sent email'
. The endpoint can be a normal function or async function.description – An optional description which is shown in the UI to explain to the user what the form is for.
Here’s a full example:
class MyModel(pydantic.BaseModel):
    message: str = "hello world"


def my_endpoint(request: Request, data: MyModel):
    print(f"I received {data.message}")

    # If we're not happy with the data raise a ValueError
    # The message inside the exception will be displayed in the UI.
    raise ValueError("We were unable to process the form.")

    # If we're happy with the data, just return a string, which
    # will be displayed in the UI.
    return "Successful."


config = FormConfig(
    name="My Form",
    pydantic_model=MyModel,
    endpoint=my_endpoint
)